Setup Virtual Robot in Android Studio on macOS
Installing dependencies
- Download git, java, and 360Controller.
360Controller WILL NOT install on macOS Big Sur or newer.
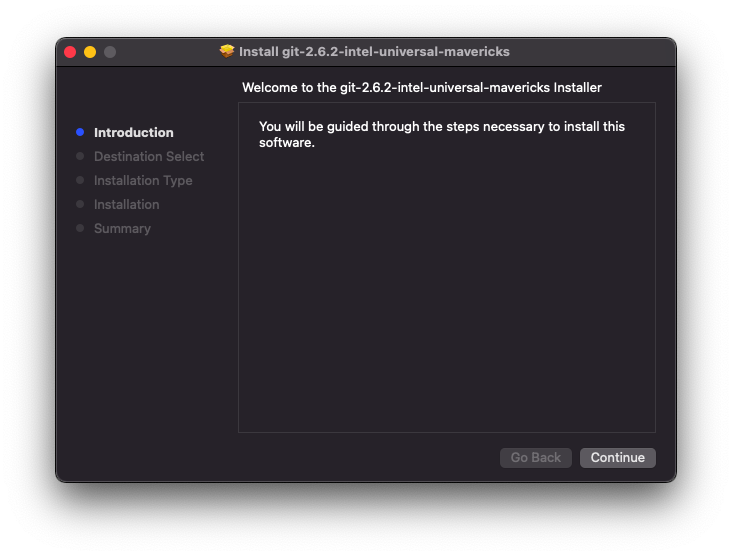
- Run the installers for each.
If macOS complains that the installer is not signed by an identified developer, you may need to override it. See Apple’s support page for details.
Installing Android Studio
- Download the Android Studio installer.
-
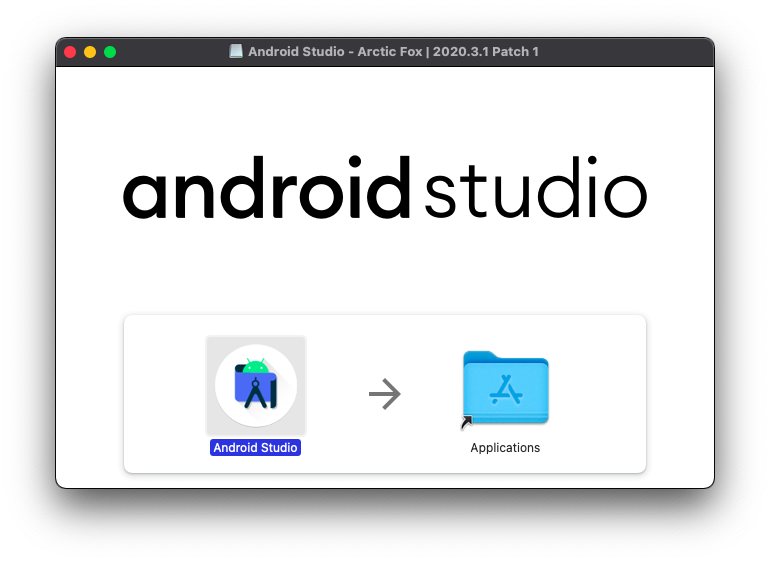
Open the installer, and drag the “Android Studio” icon into the “Applications” folder. ONLY DO THIS ONCE! Close the installer.
- Open the newly installed Android Studio app.
- In the setup helper, select the “Standard” installation type. Leave all of the default settings.
Loading the Virtual Robot project
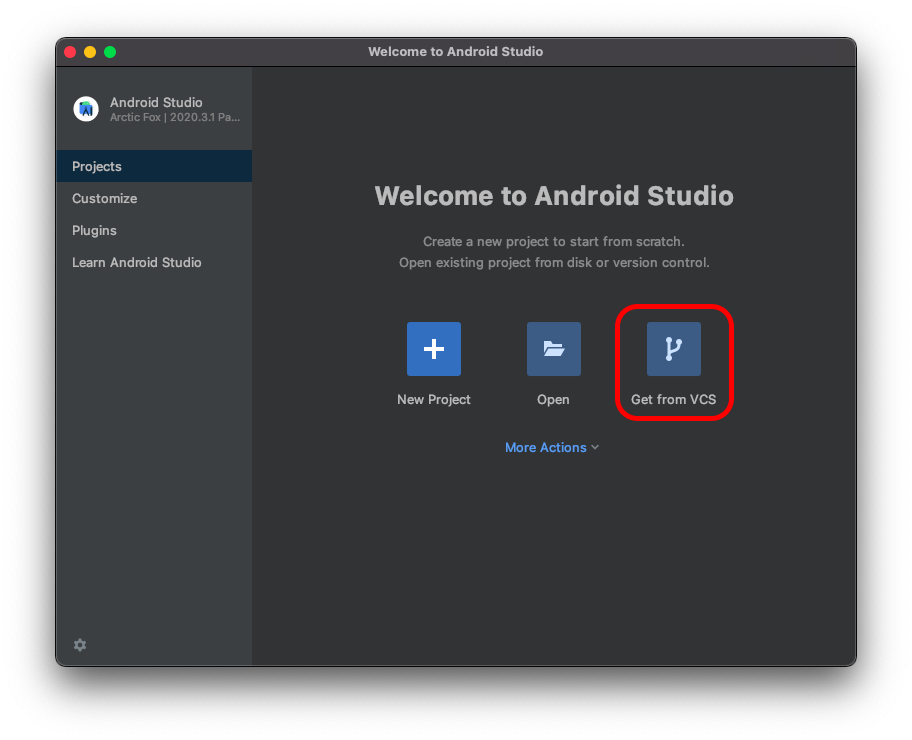
- In Android Studio, select “Get from VCS”.
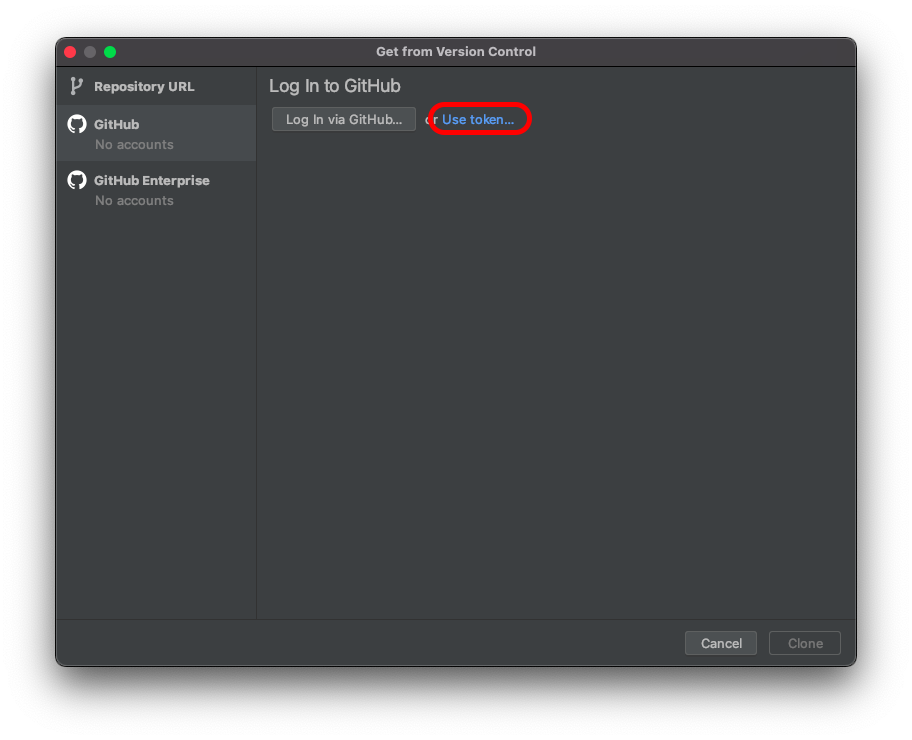
- Select the GitHub tab.
- Add a GitHub token
- Select “Use token…”
- Select “Generate…”
- It will open the GitHub token creation page.
- Leave everything the same except the Expiration, set this to “No expiration”. You may need to change the Note section if you have another token with the same name.
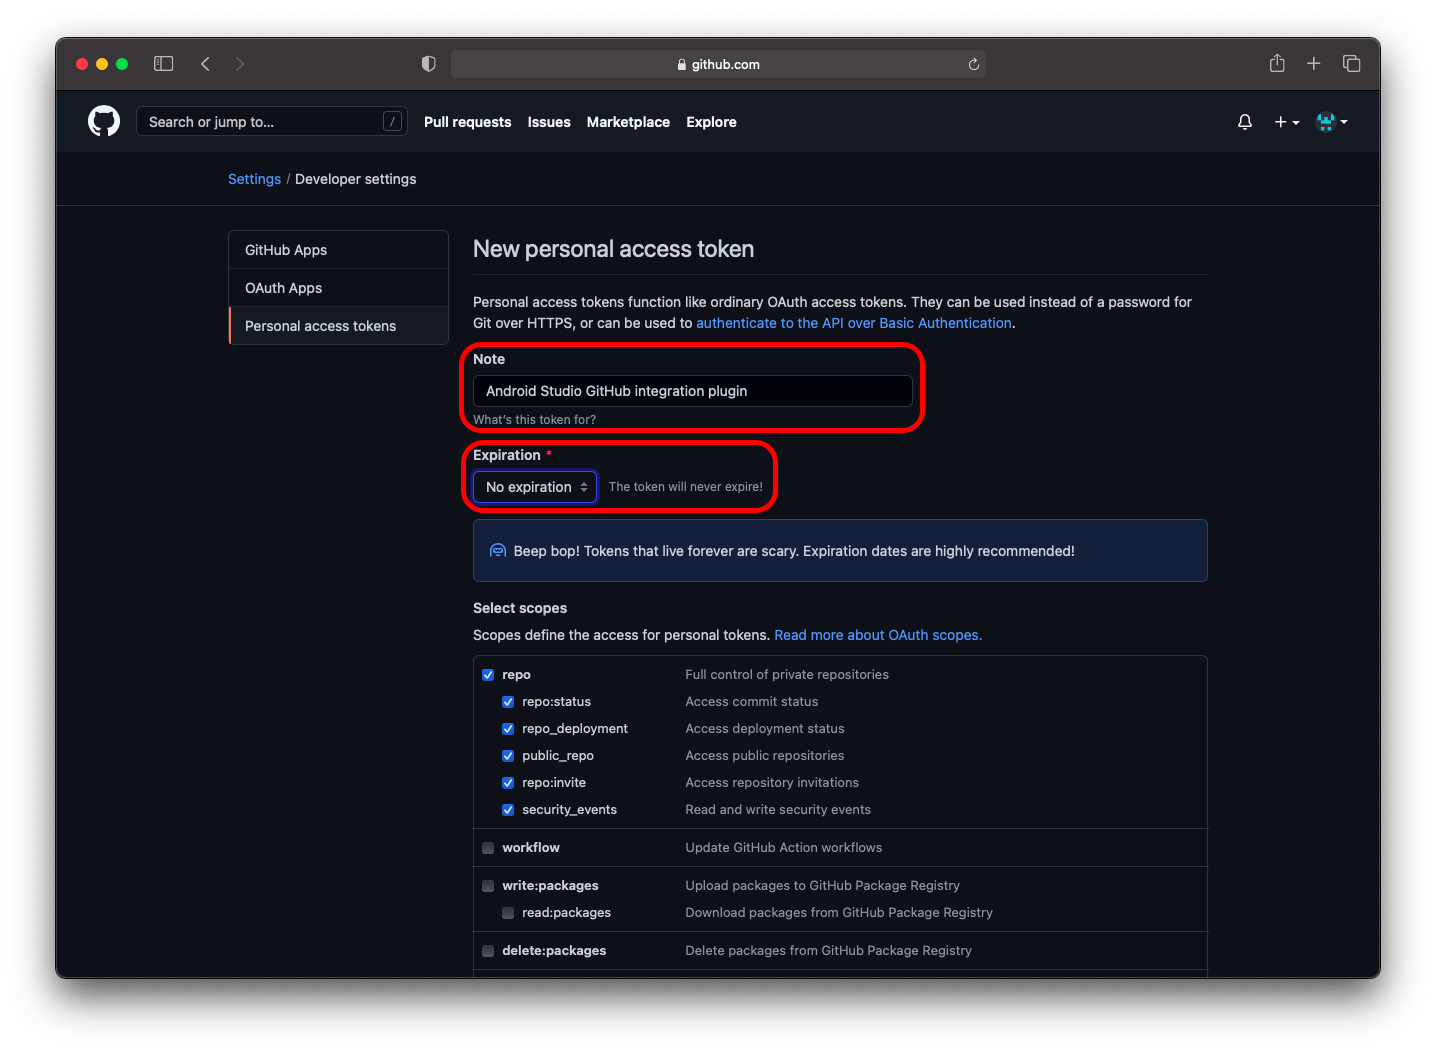
- Scroll to the bottom and select “Generate token”.
- Copy the resulting token (
ghp_XXXXXXXXXXXXXXXXXXXXXXXXXXXXXXXXXXXX).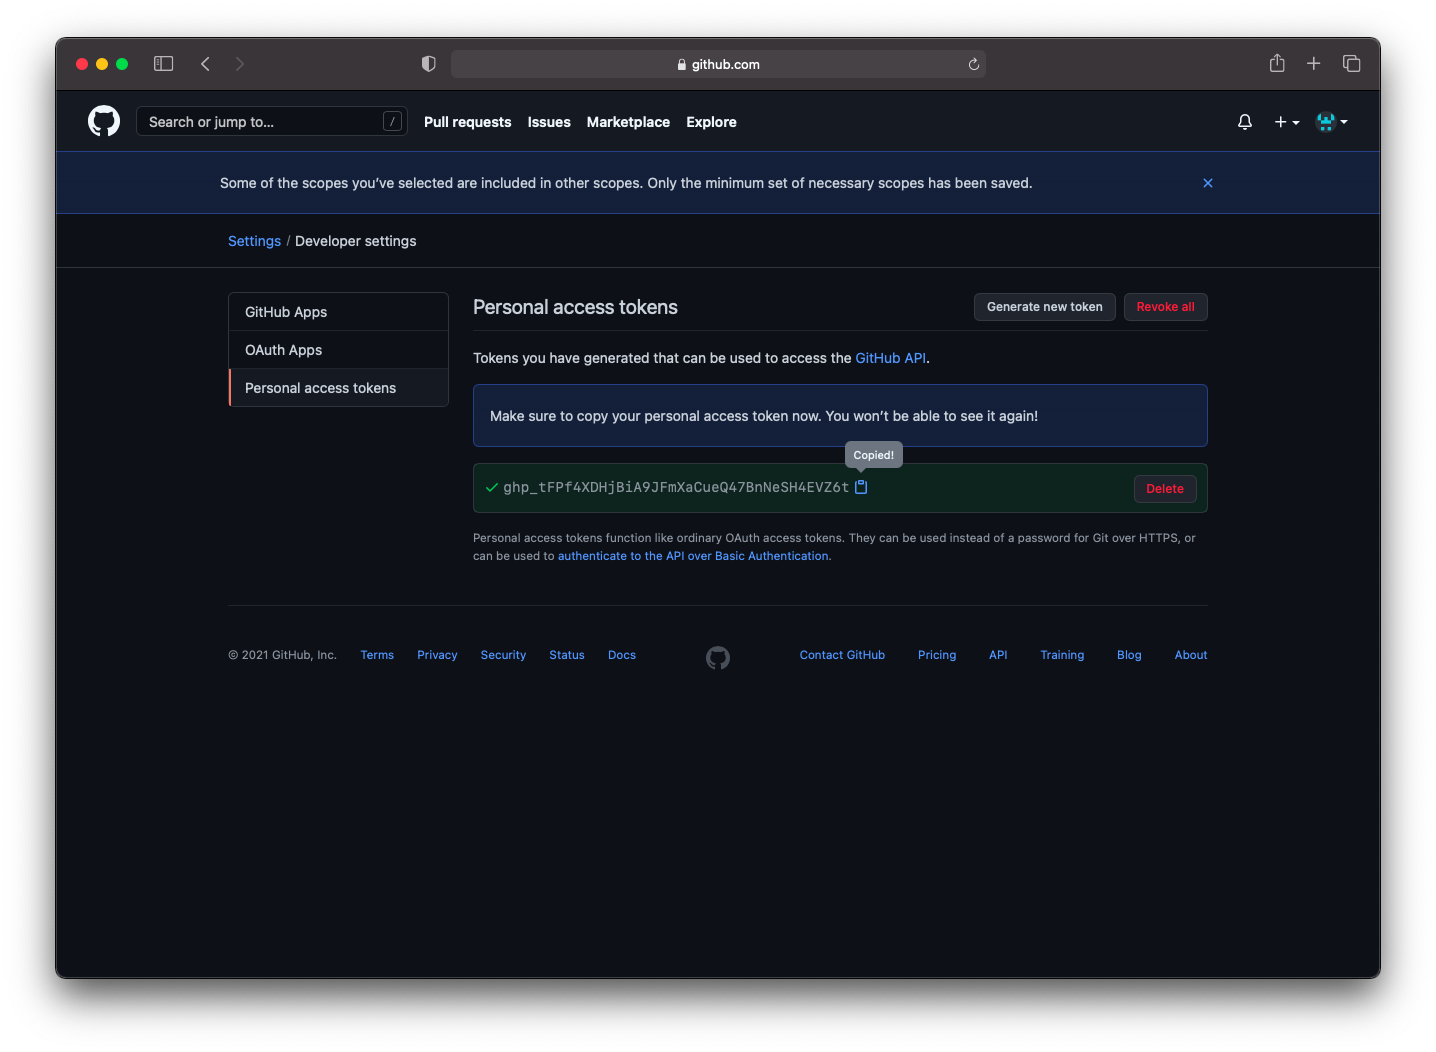
- In Android Studio, paste this token and click “Log In”.
- Select “Use token…”
- In the list of repositories, select your fork of virtual robot (
virtual-robotor similar).It is recomended that you clone your own personal fork, not the
panthera2021/virtual-robotrepo because you need to do the tutorial by yourselves. - Click “Clone”.